







Features
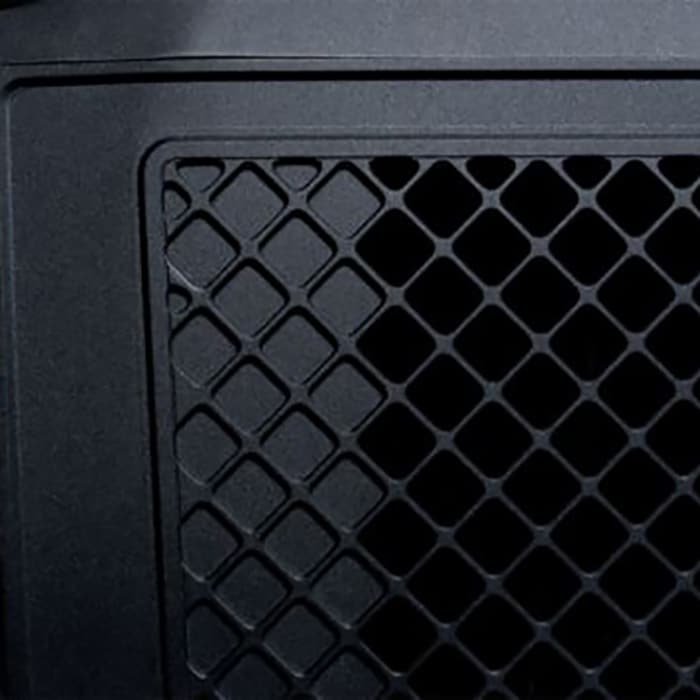
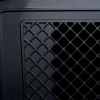
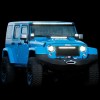
Grille Replacement With LED Light Bar
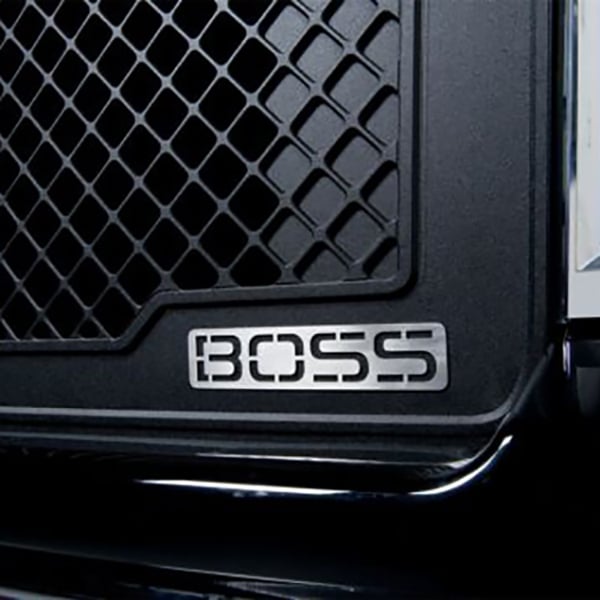
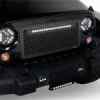
- Boss LED Grille Design: Constructed from 1/4″ CNC-machined aluminum and integrated with Off-Road Luminix LED light bars.
- Finish: Black powder-coated finish.
- Light/LED Specs: Features a 50,000-hour LED bulb life, 6000K color temperature, 7,200 lumens, and 27 watts.
- Weather Resistant: Light bars are water and dustproof, and the aluminum is corrosion-resistant.
- Installation: Cutting required; full replacement grille.
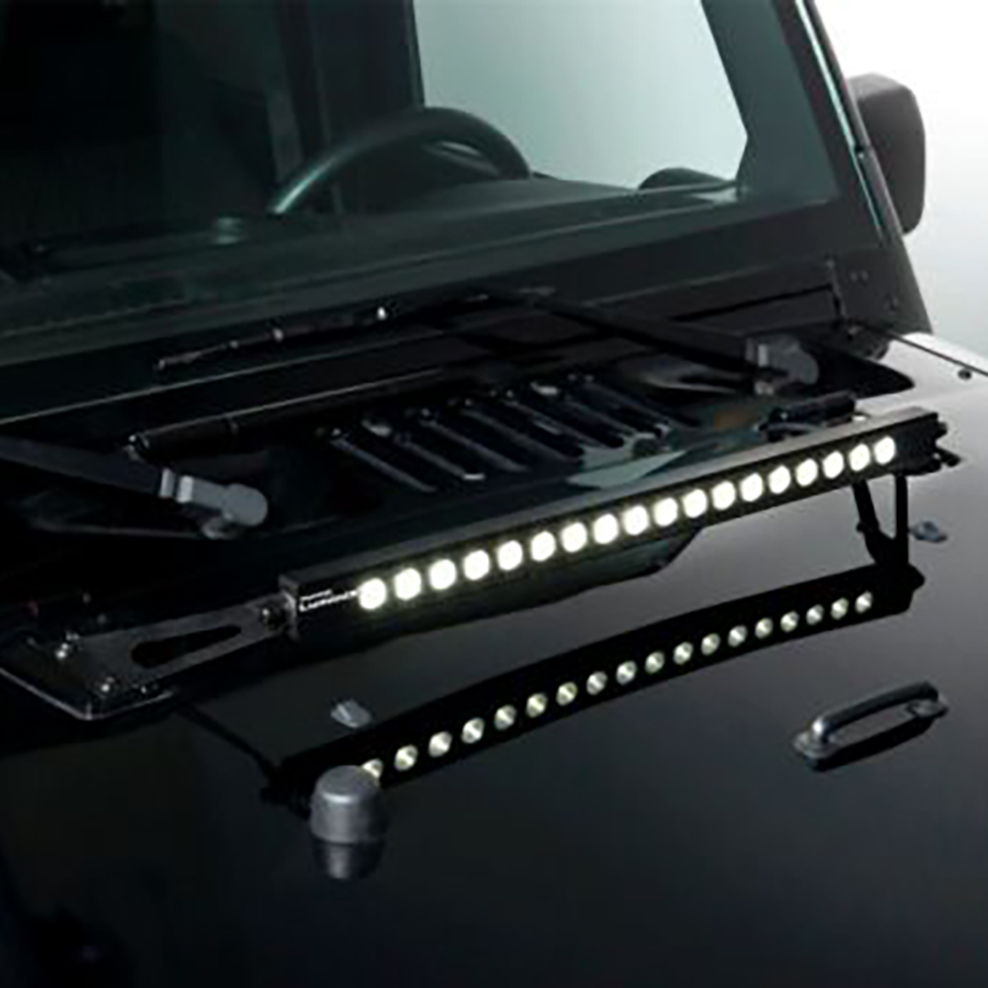
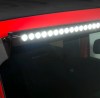
Hood Mounting LED Light Bar
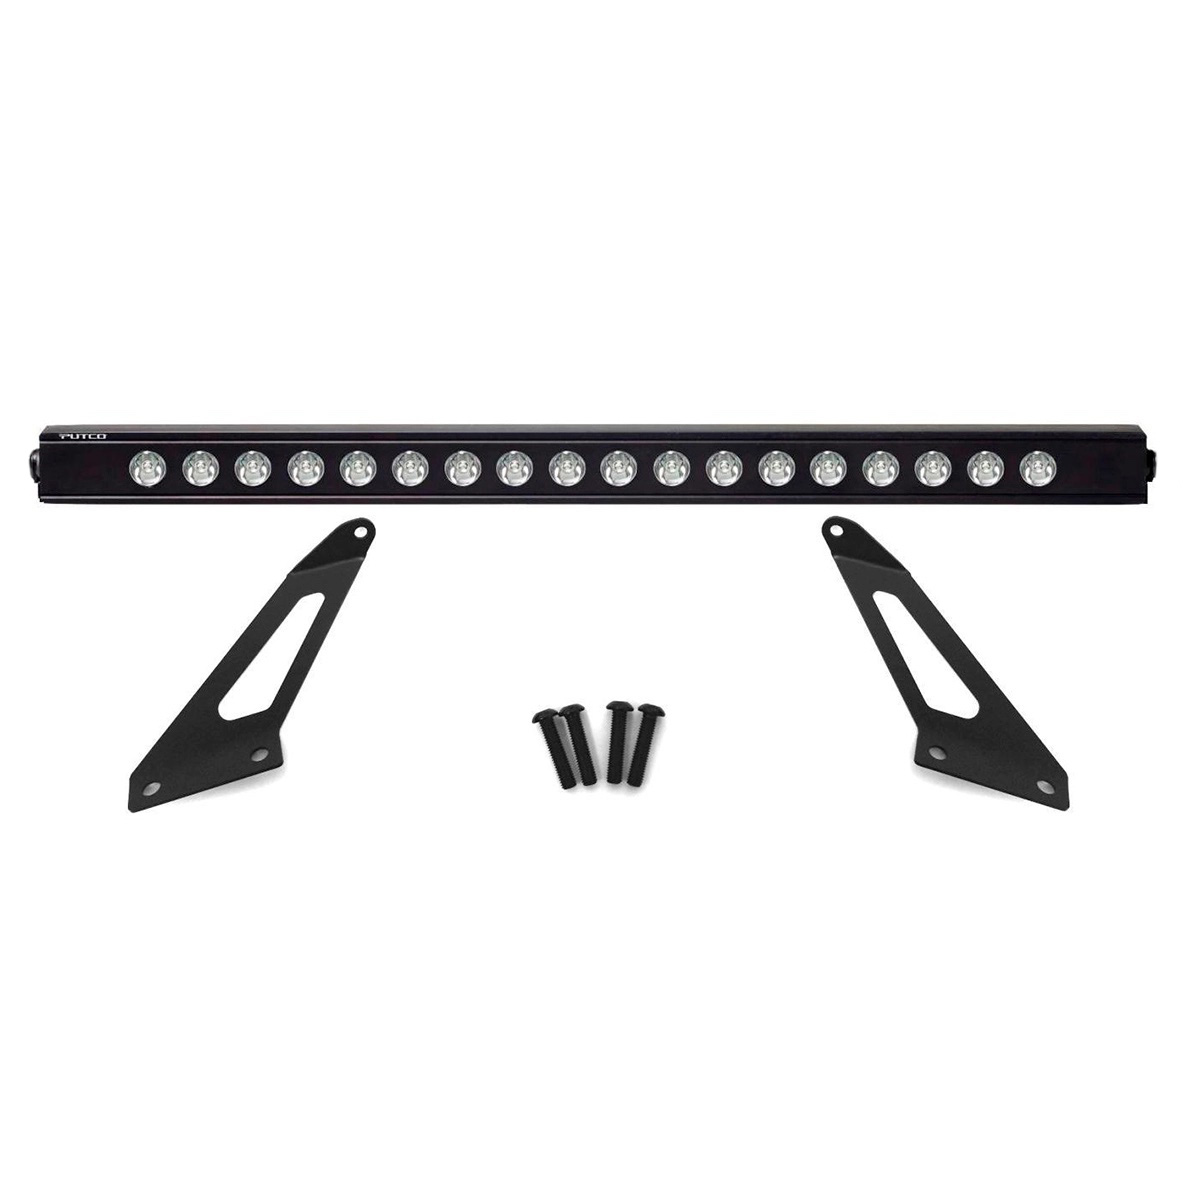
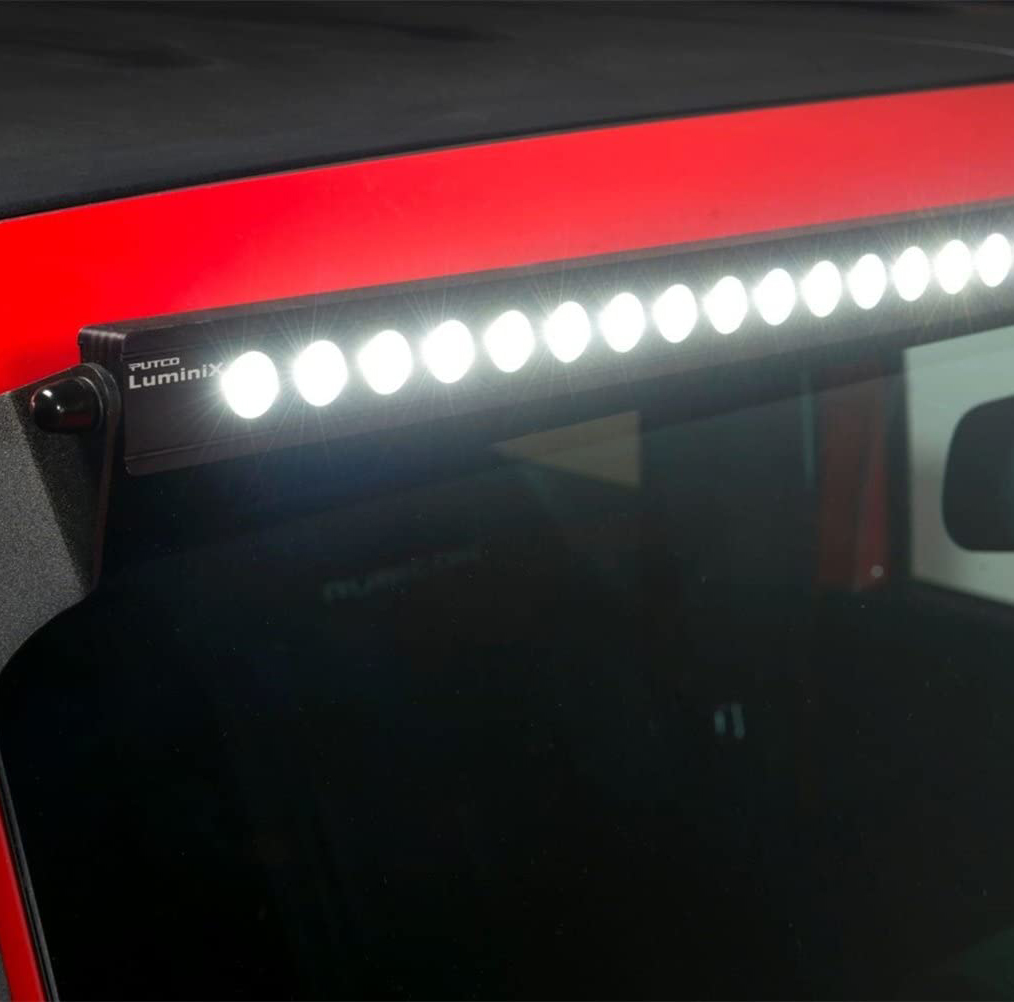
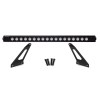
- Install-Ready Kit: Includes Jeep Wrangler Hood Mount Bracket and 20″ Luminix LED Light Bar.
- High Power Lighting: Produces a lumen output of 7,200.
- Quality Components: Uses high-quality Cree 5-Watt 6000K LEDs.
- Superior Craftsmanship: Light bar housing CNC-milled from aircraft-grade 6061 T6 aluminum, black anodized finish.
- Waterproof and Weatherproof: IP69K rating, MIL-STD 810G 511.5 (Explosive Atmosphere), and 514.6 (Vibration Testing) certifications.
- Custom Bracket: A stainless steel bracket for maximum durability and a low-profile mount, with easy bolt-on installation.
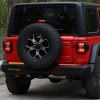
License Plate Frame With LED Light Bar
- High Power Luminix 10″ Light Bar: Delivers 3,600 lumens.
- High-Quality Cree LEDs: Superior shine with 5-watt LEDs.
- Durable Construction: Light bar housing CNC-milled from 6061 T6 aluminum, black anodized finish.
- Weatherproofing: IP69K and IP68 ratings with solid-state design.
- Stainless Steel Bracket: 12GA, finished with a textured black powder coating, universal fit without drilling for most models.
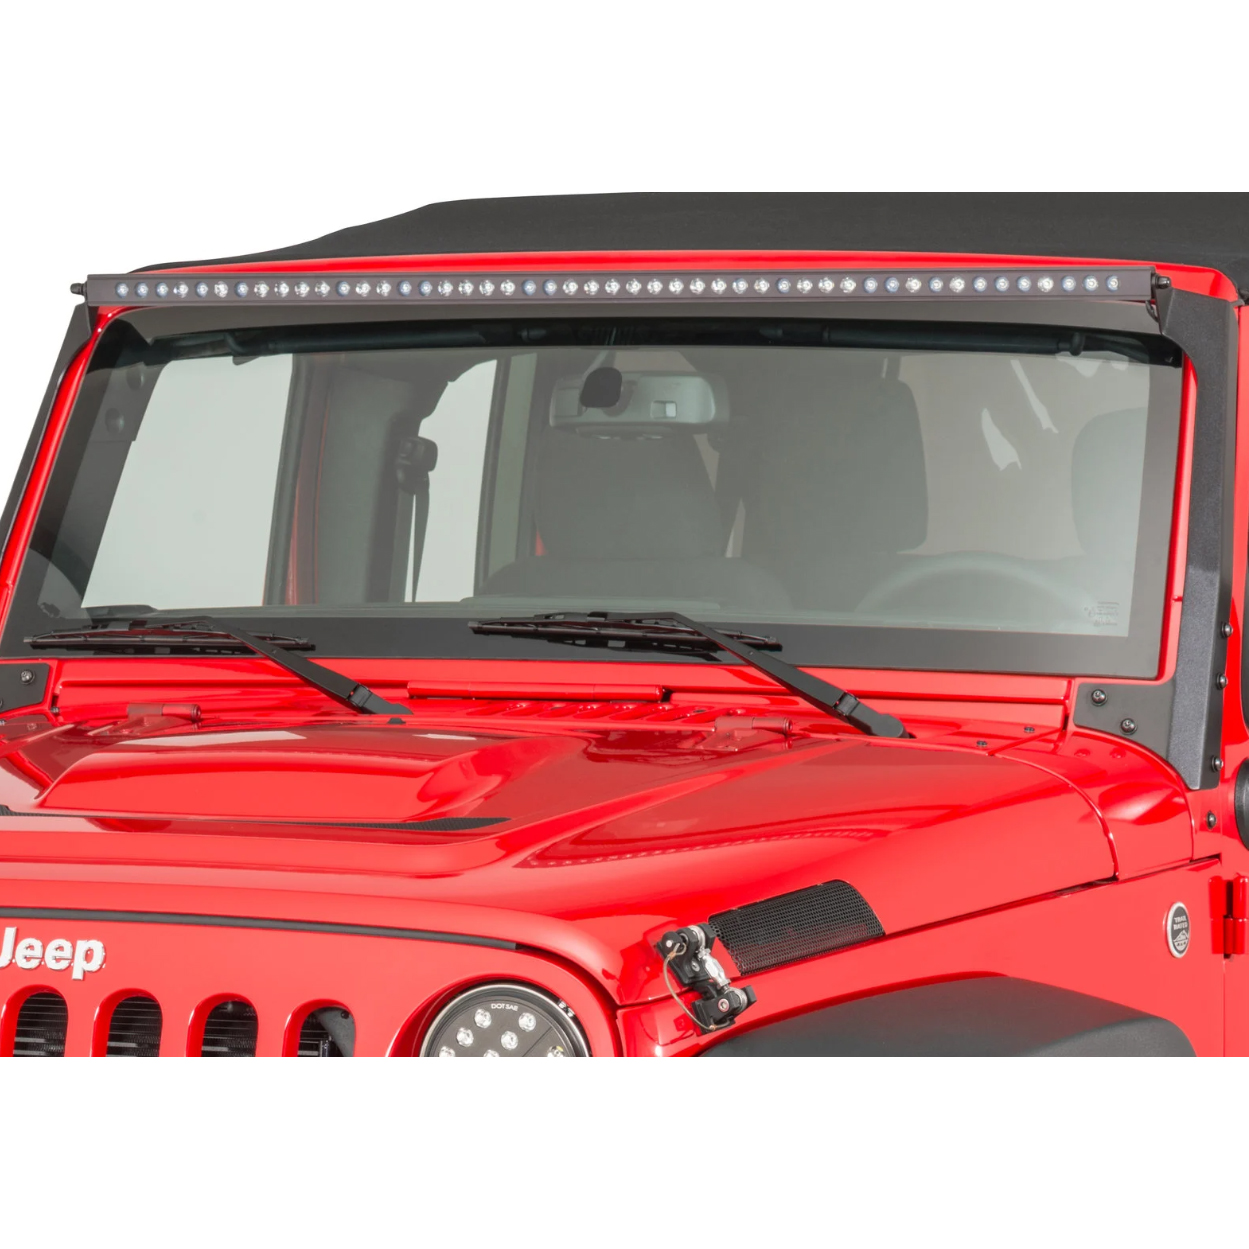
Roof-mounted LED Light Bar
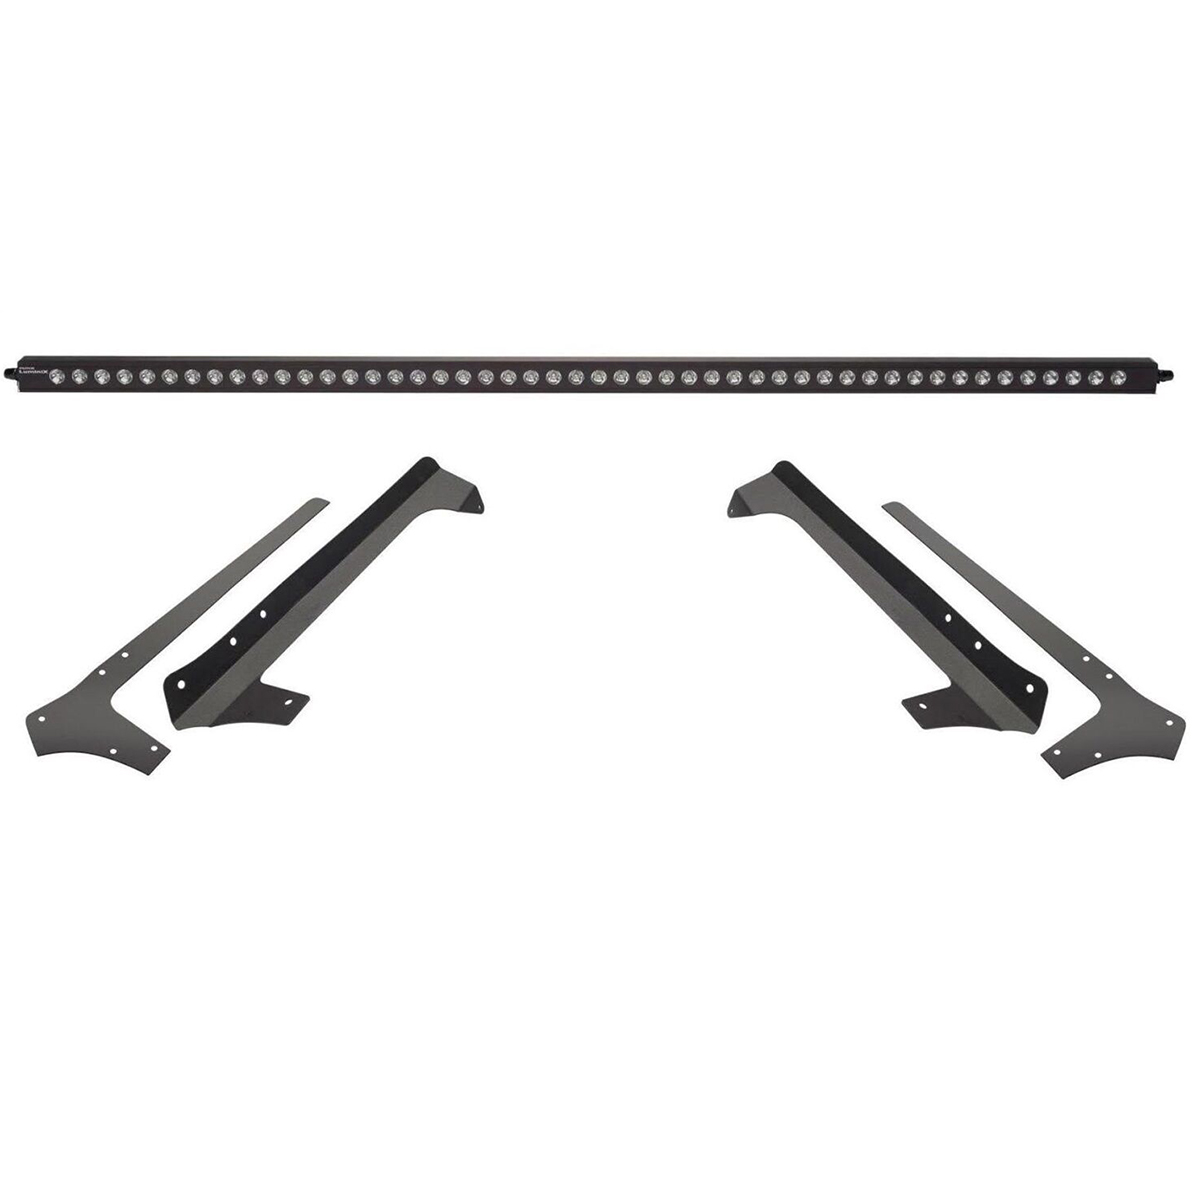
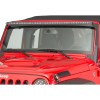
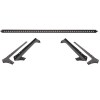
- High Power Lighting: 50″ Luminix LED Light Bar with 19,200 lumens.
- Quality Components: High-quality Cree 5-Watt 6000K LEDs.
- Superior Craftsmanship: CNC-milled housing from aircraft-grade 6061 T6 aluminum, black anodized finish.
- Weatherproof and Waterproof: IP69K rating, MIL-STD 810G 511.5 and 514.6 certifications.
- Custom Bracket: A stainless steel bracket for maximum durability, featuring a low-profile mount and easy bolt-on installation.
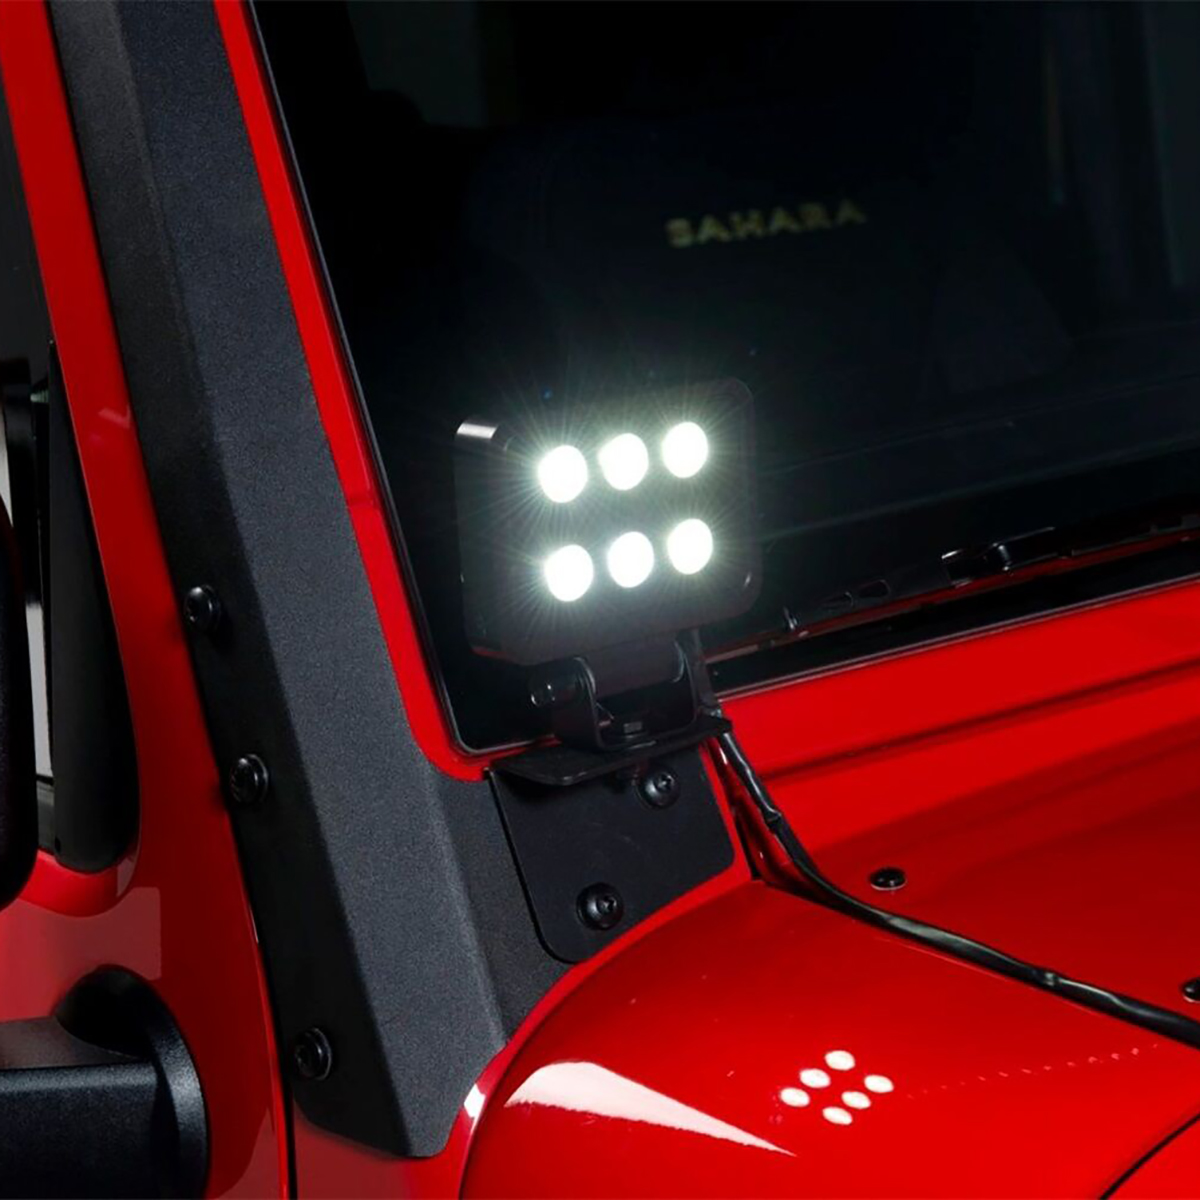
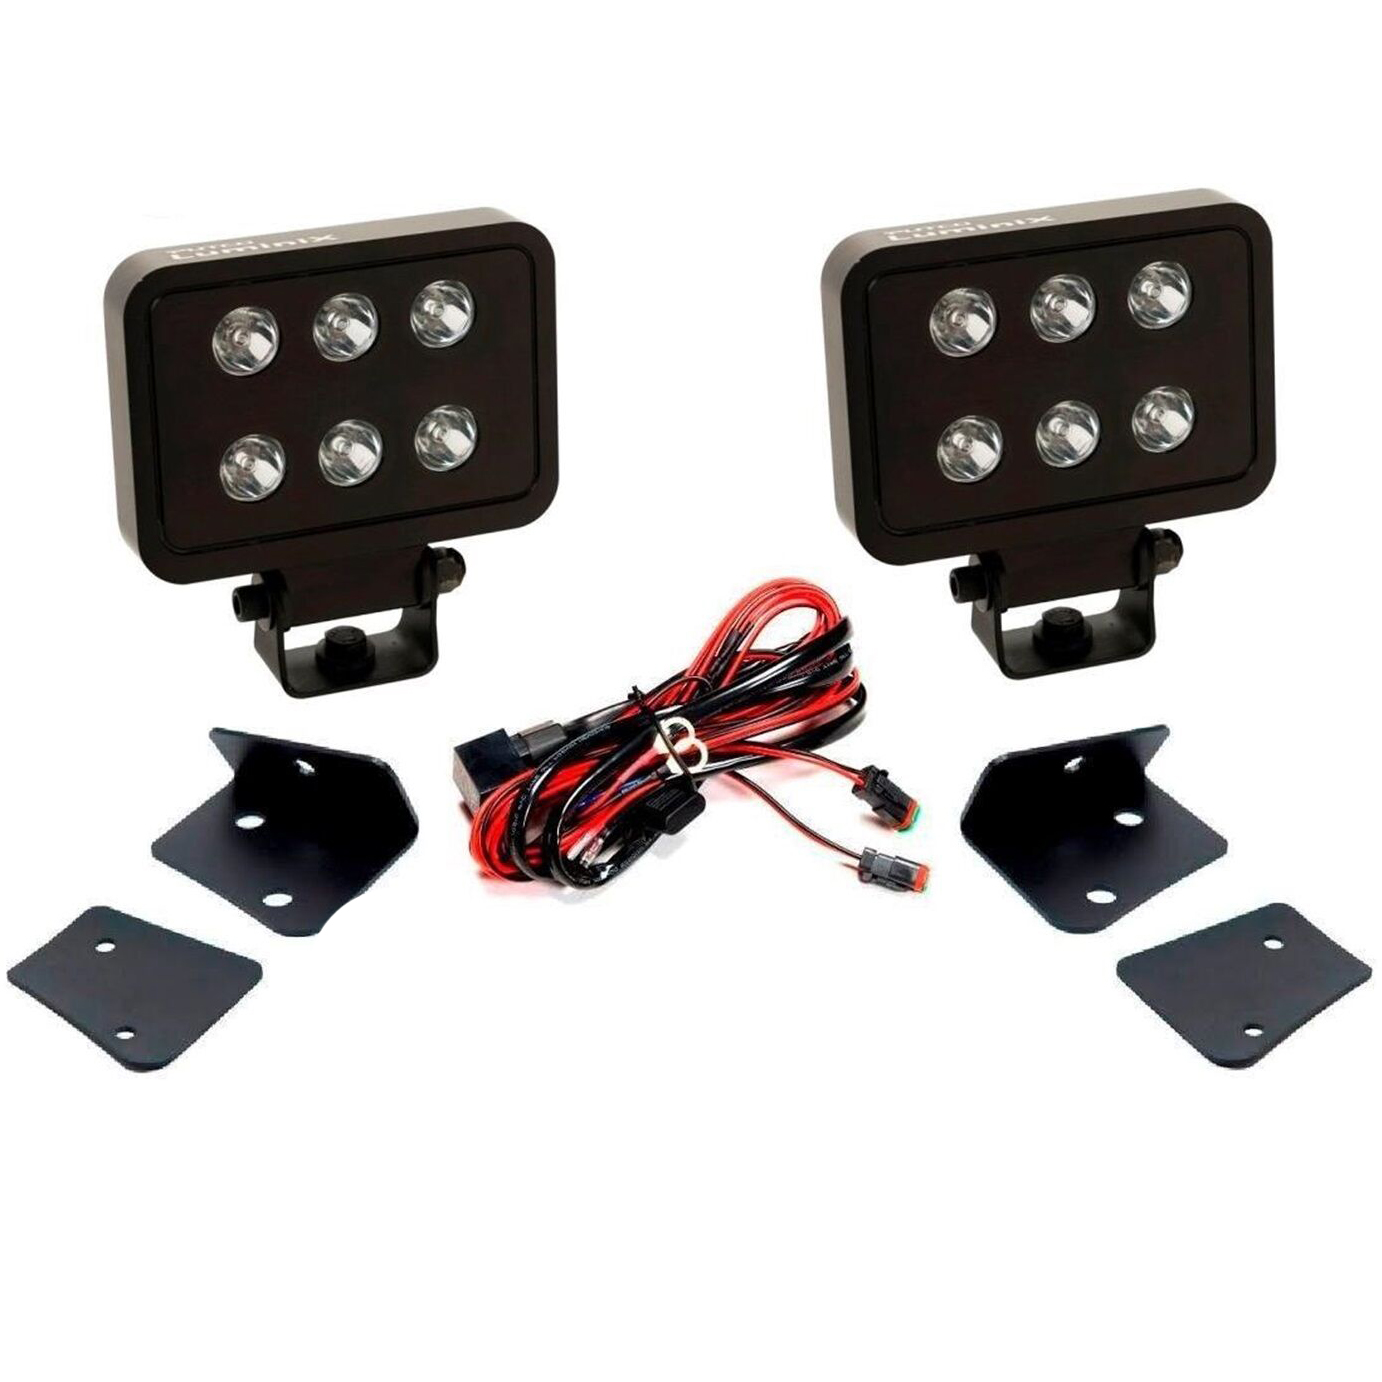
Luminix Mini-Block Lamps
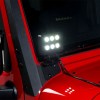
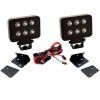
- Installation-Ready Kit: Includes Jeep Hood/Windshield Mount Brackets and two 4″ Luminix Mini-Block Lamps.
- High Power Lighting: Combined lumen output of 3,600 from two 4″ Luminix Mini-Block Lamps.
- Quality Components: High-quality Cree 5-Watt 6000K LEDs.
- Superior Craftsmanship: CNC-milled housing from aircraft-grade 6061 T6 aluminum, black anodized finish.
- Weatherproof and Waterproof: IP69K rating, MIL-STD 810G 511.5 and 514.6 certifications.
- Custom Bracket: A stainless steel bracket for maximum durability, featuring a low-profile mount and easy bolt-on installation.
Blade LED Light Bar
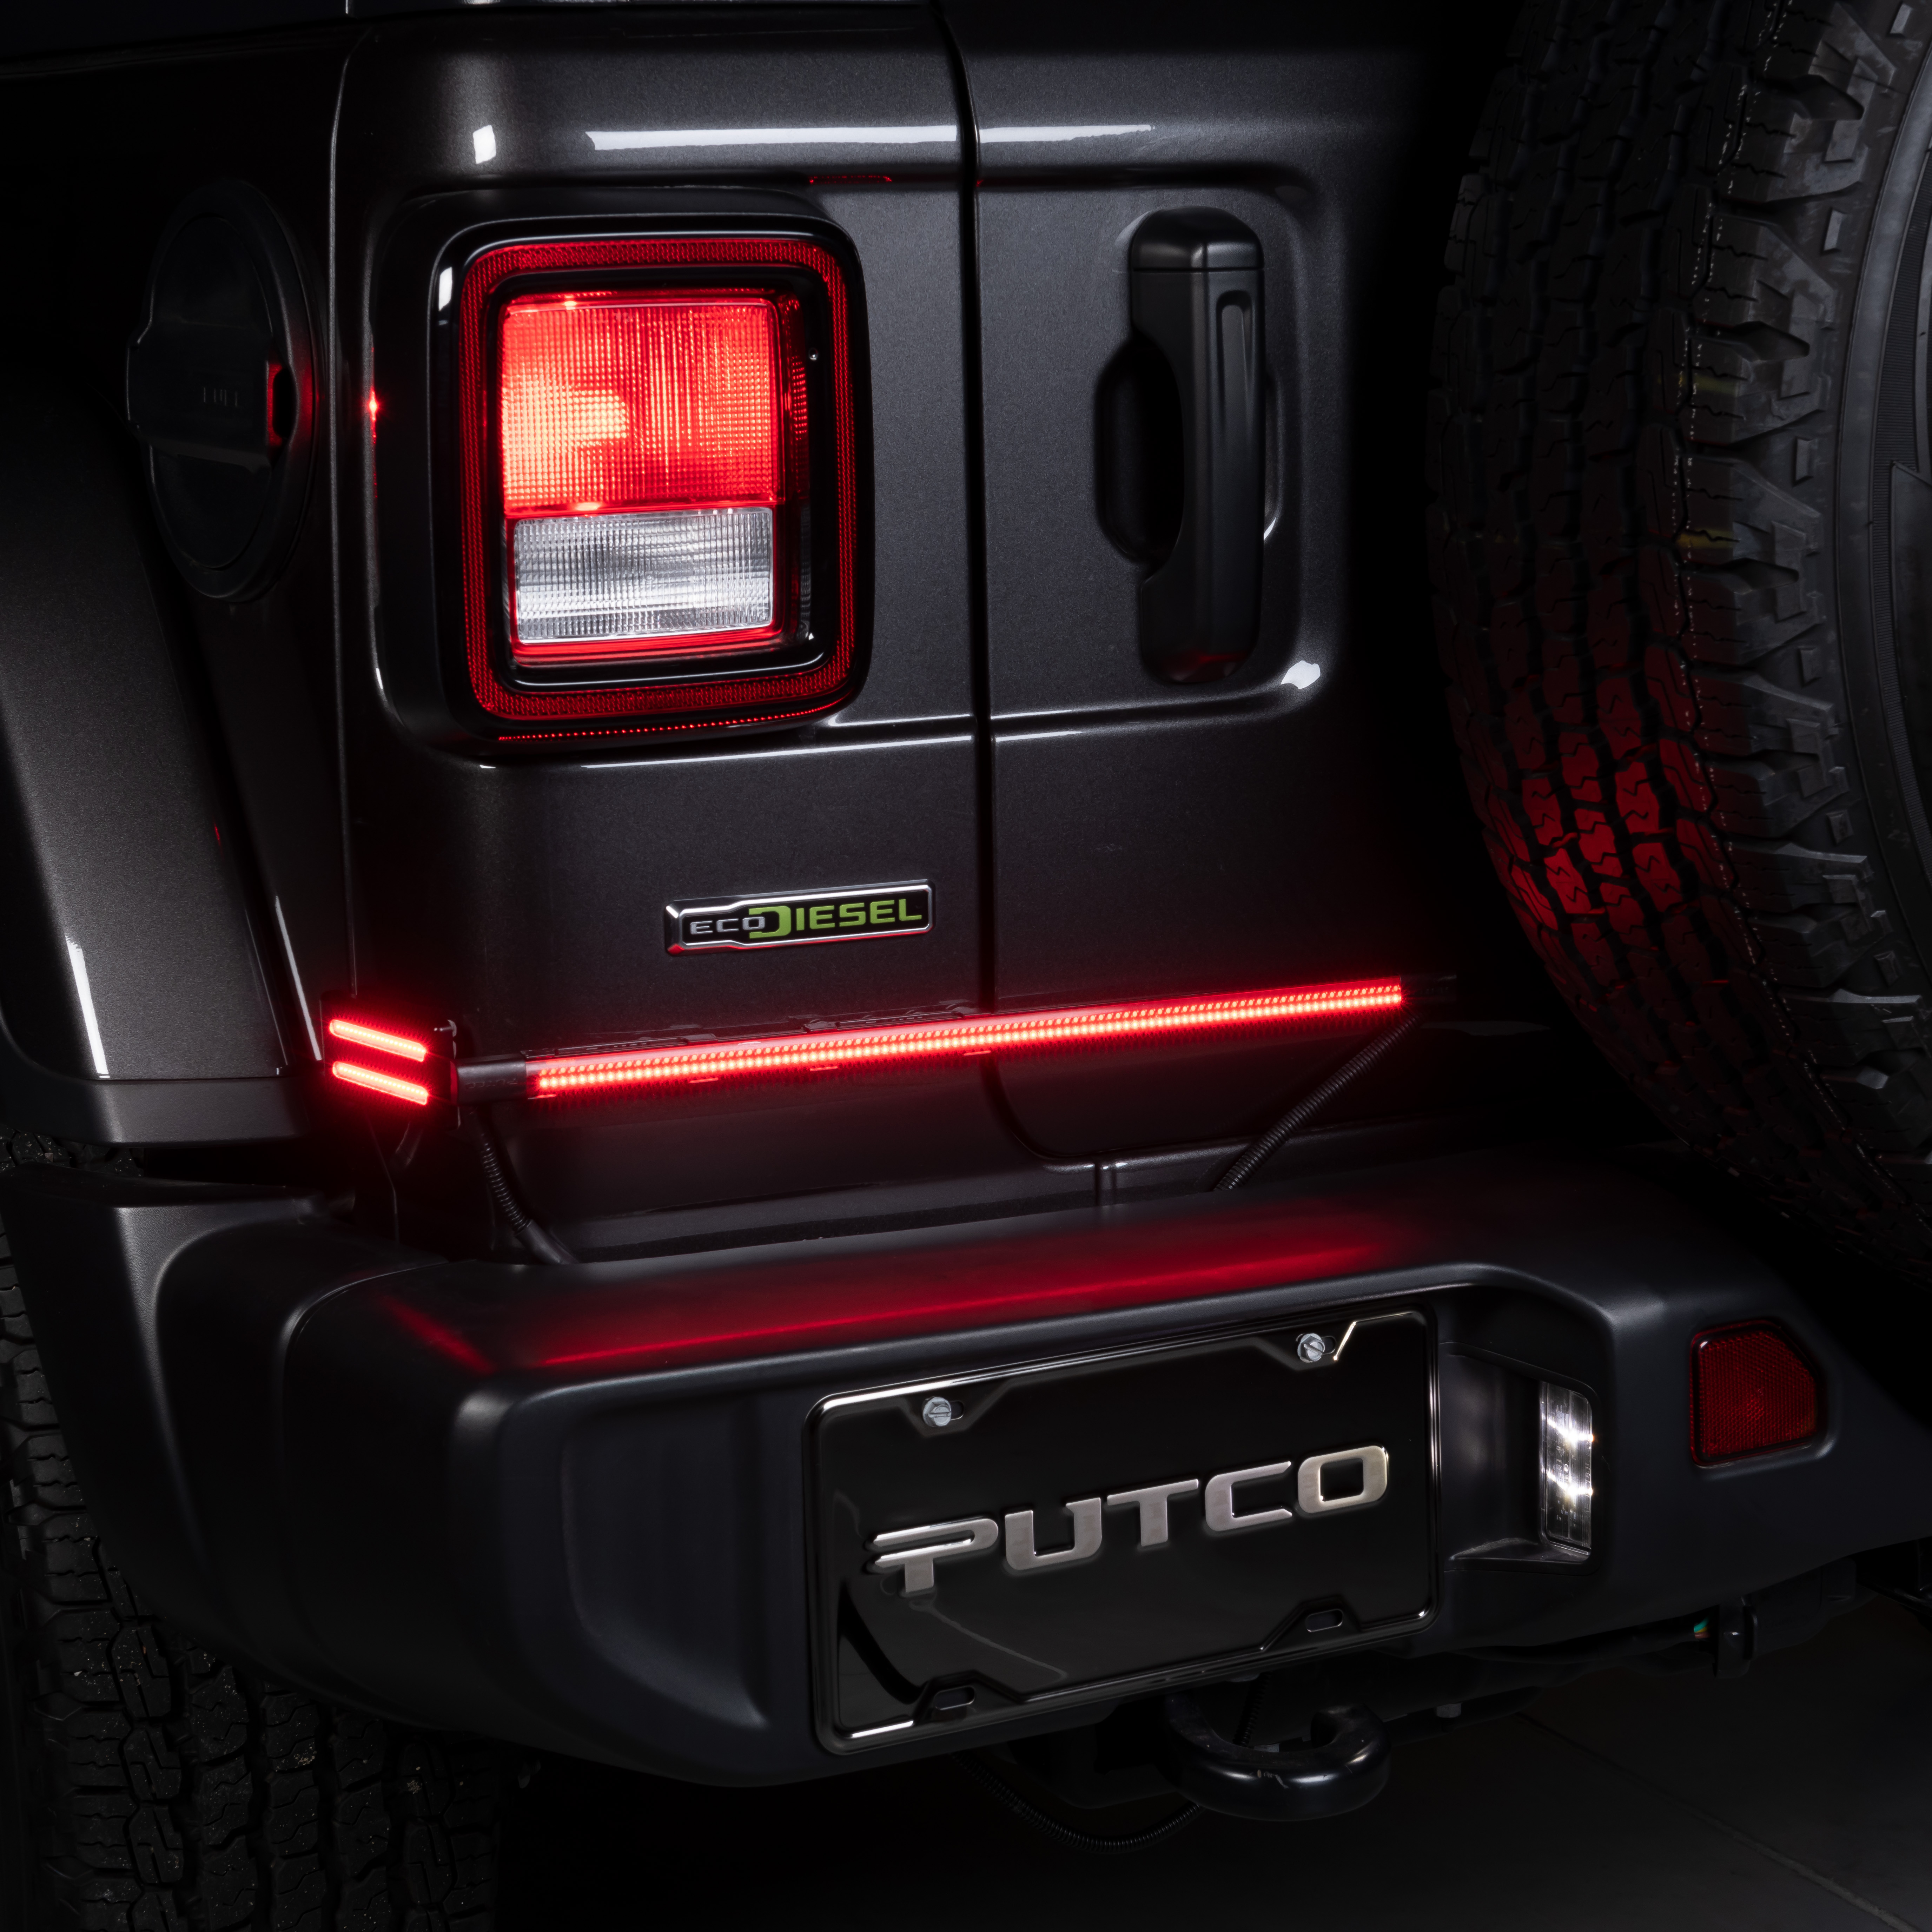
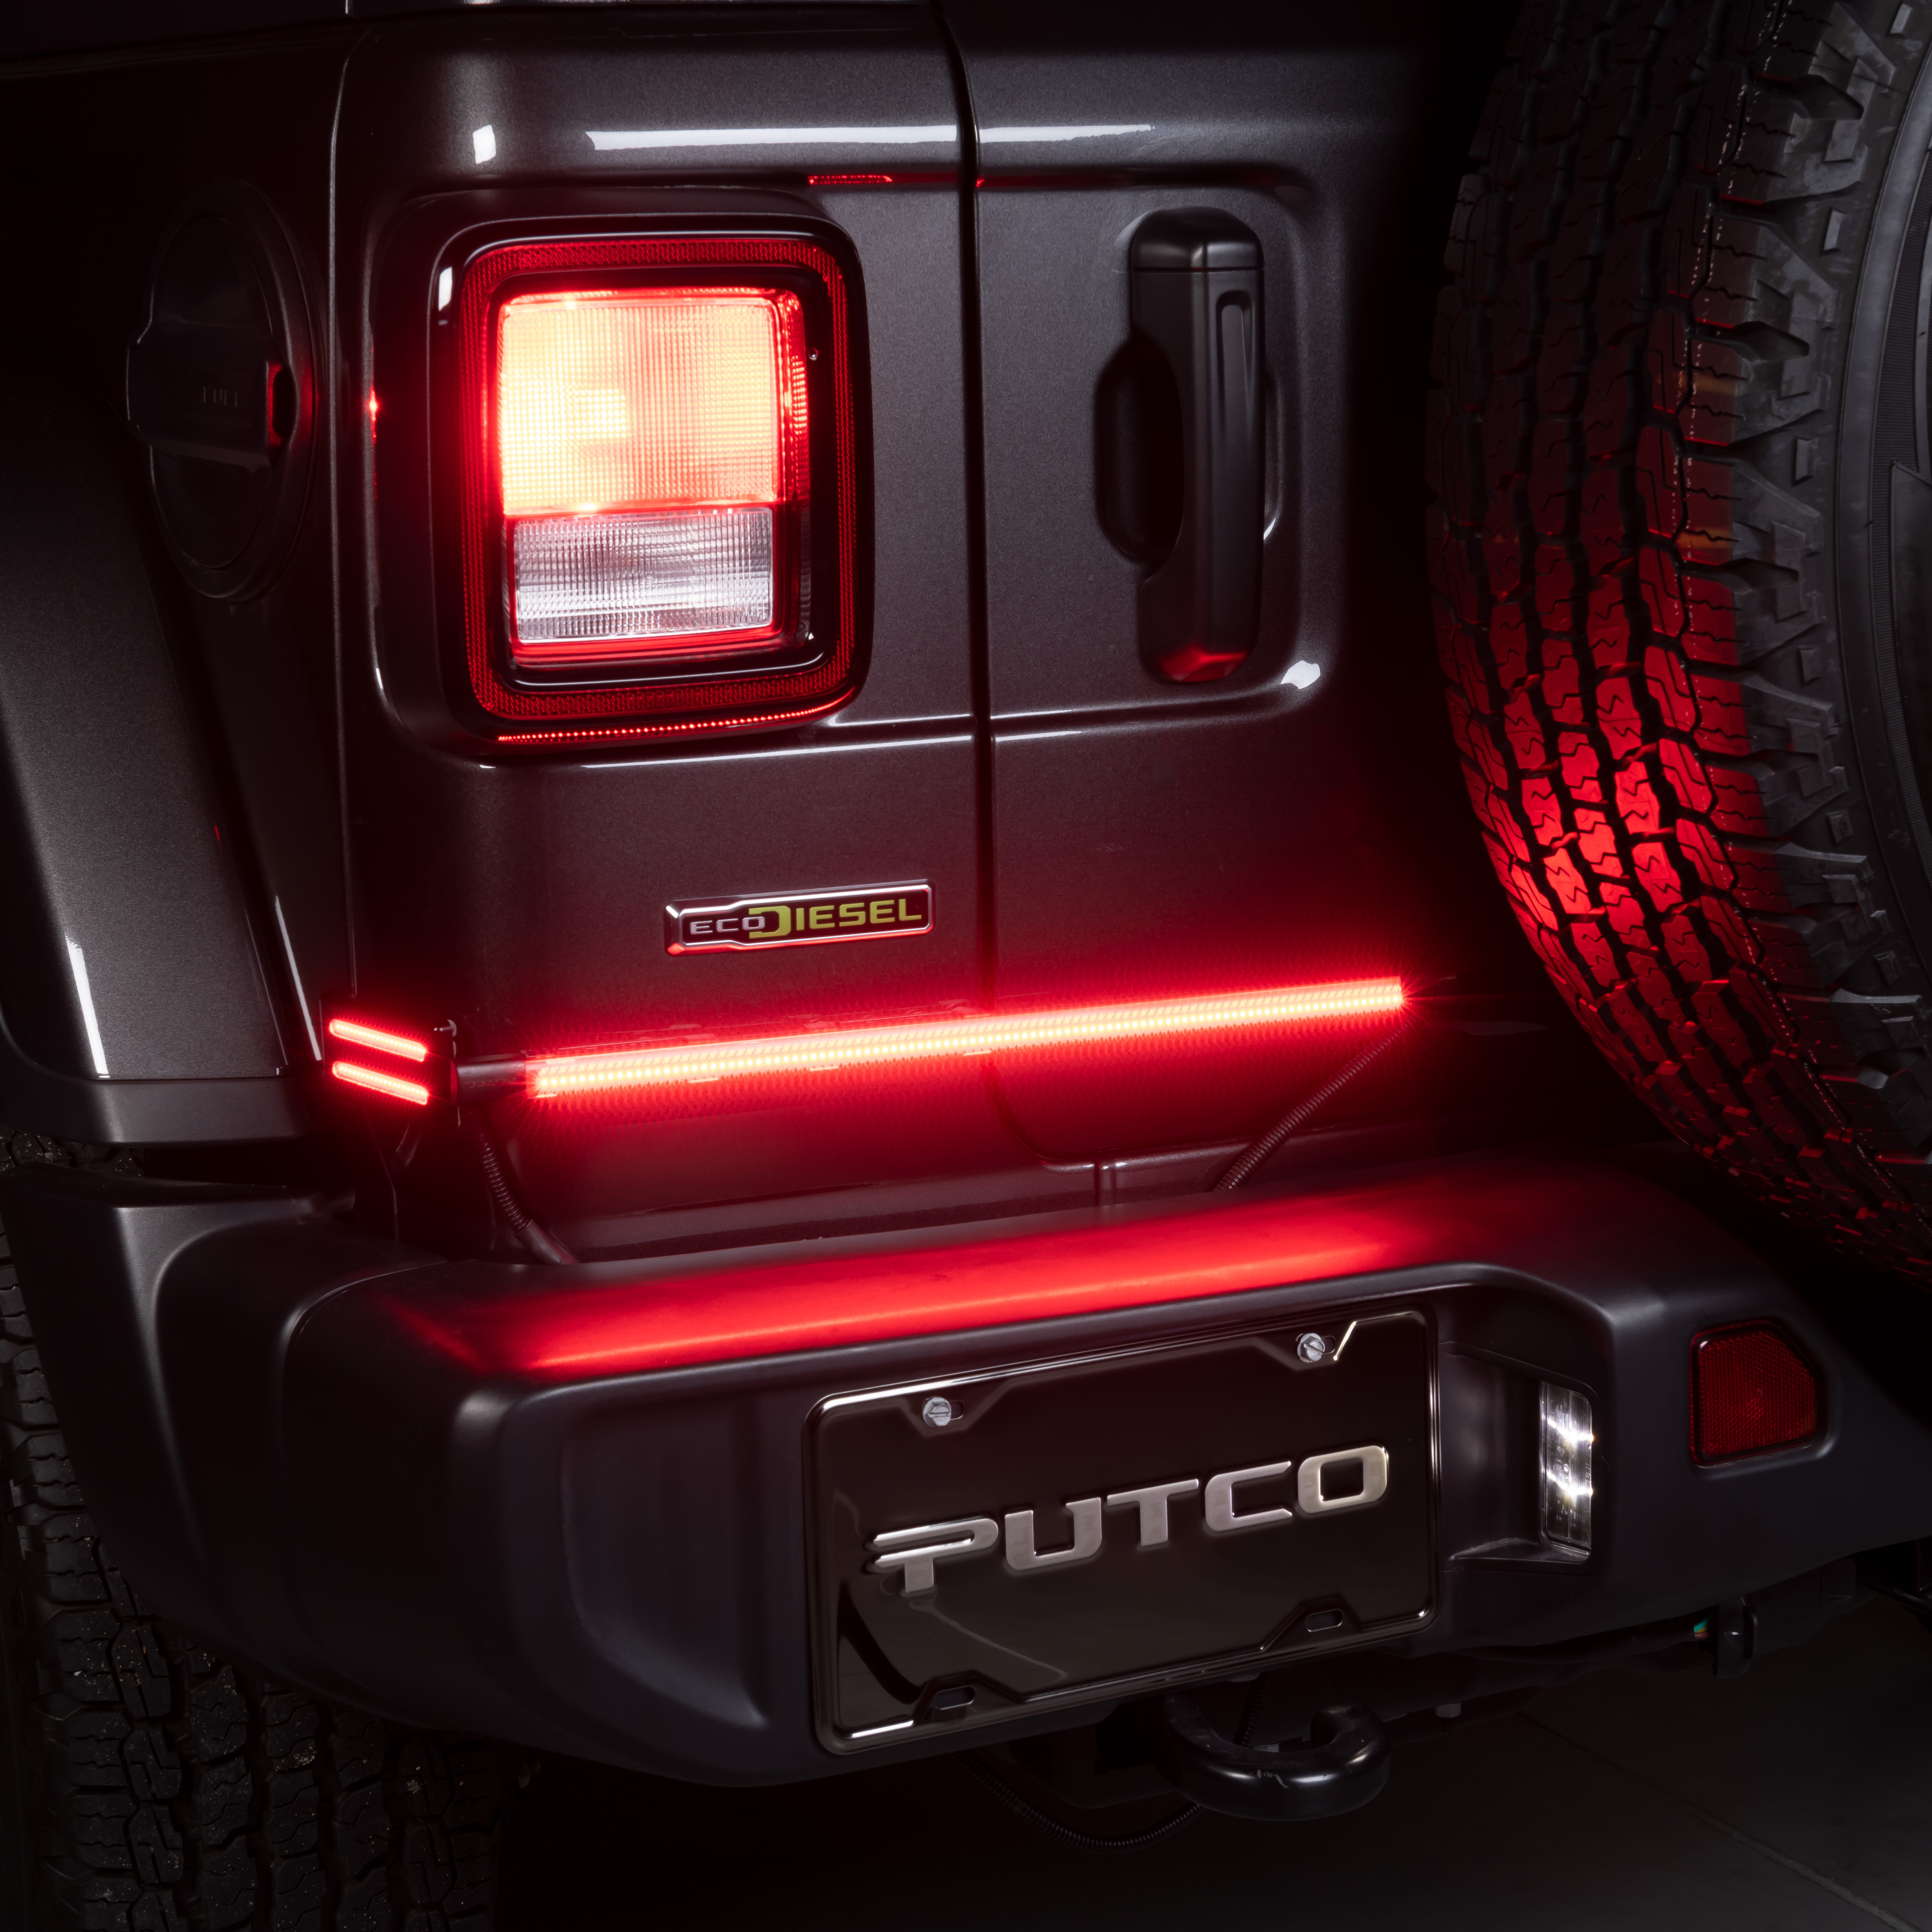
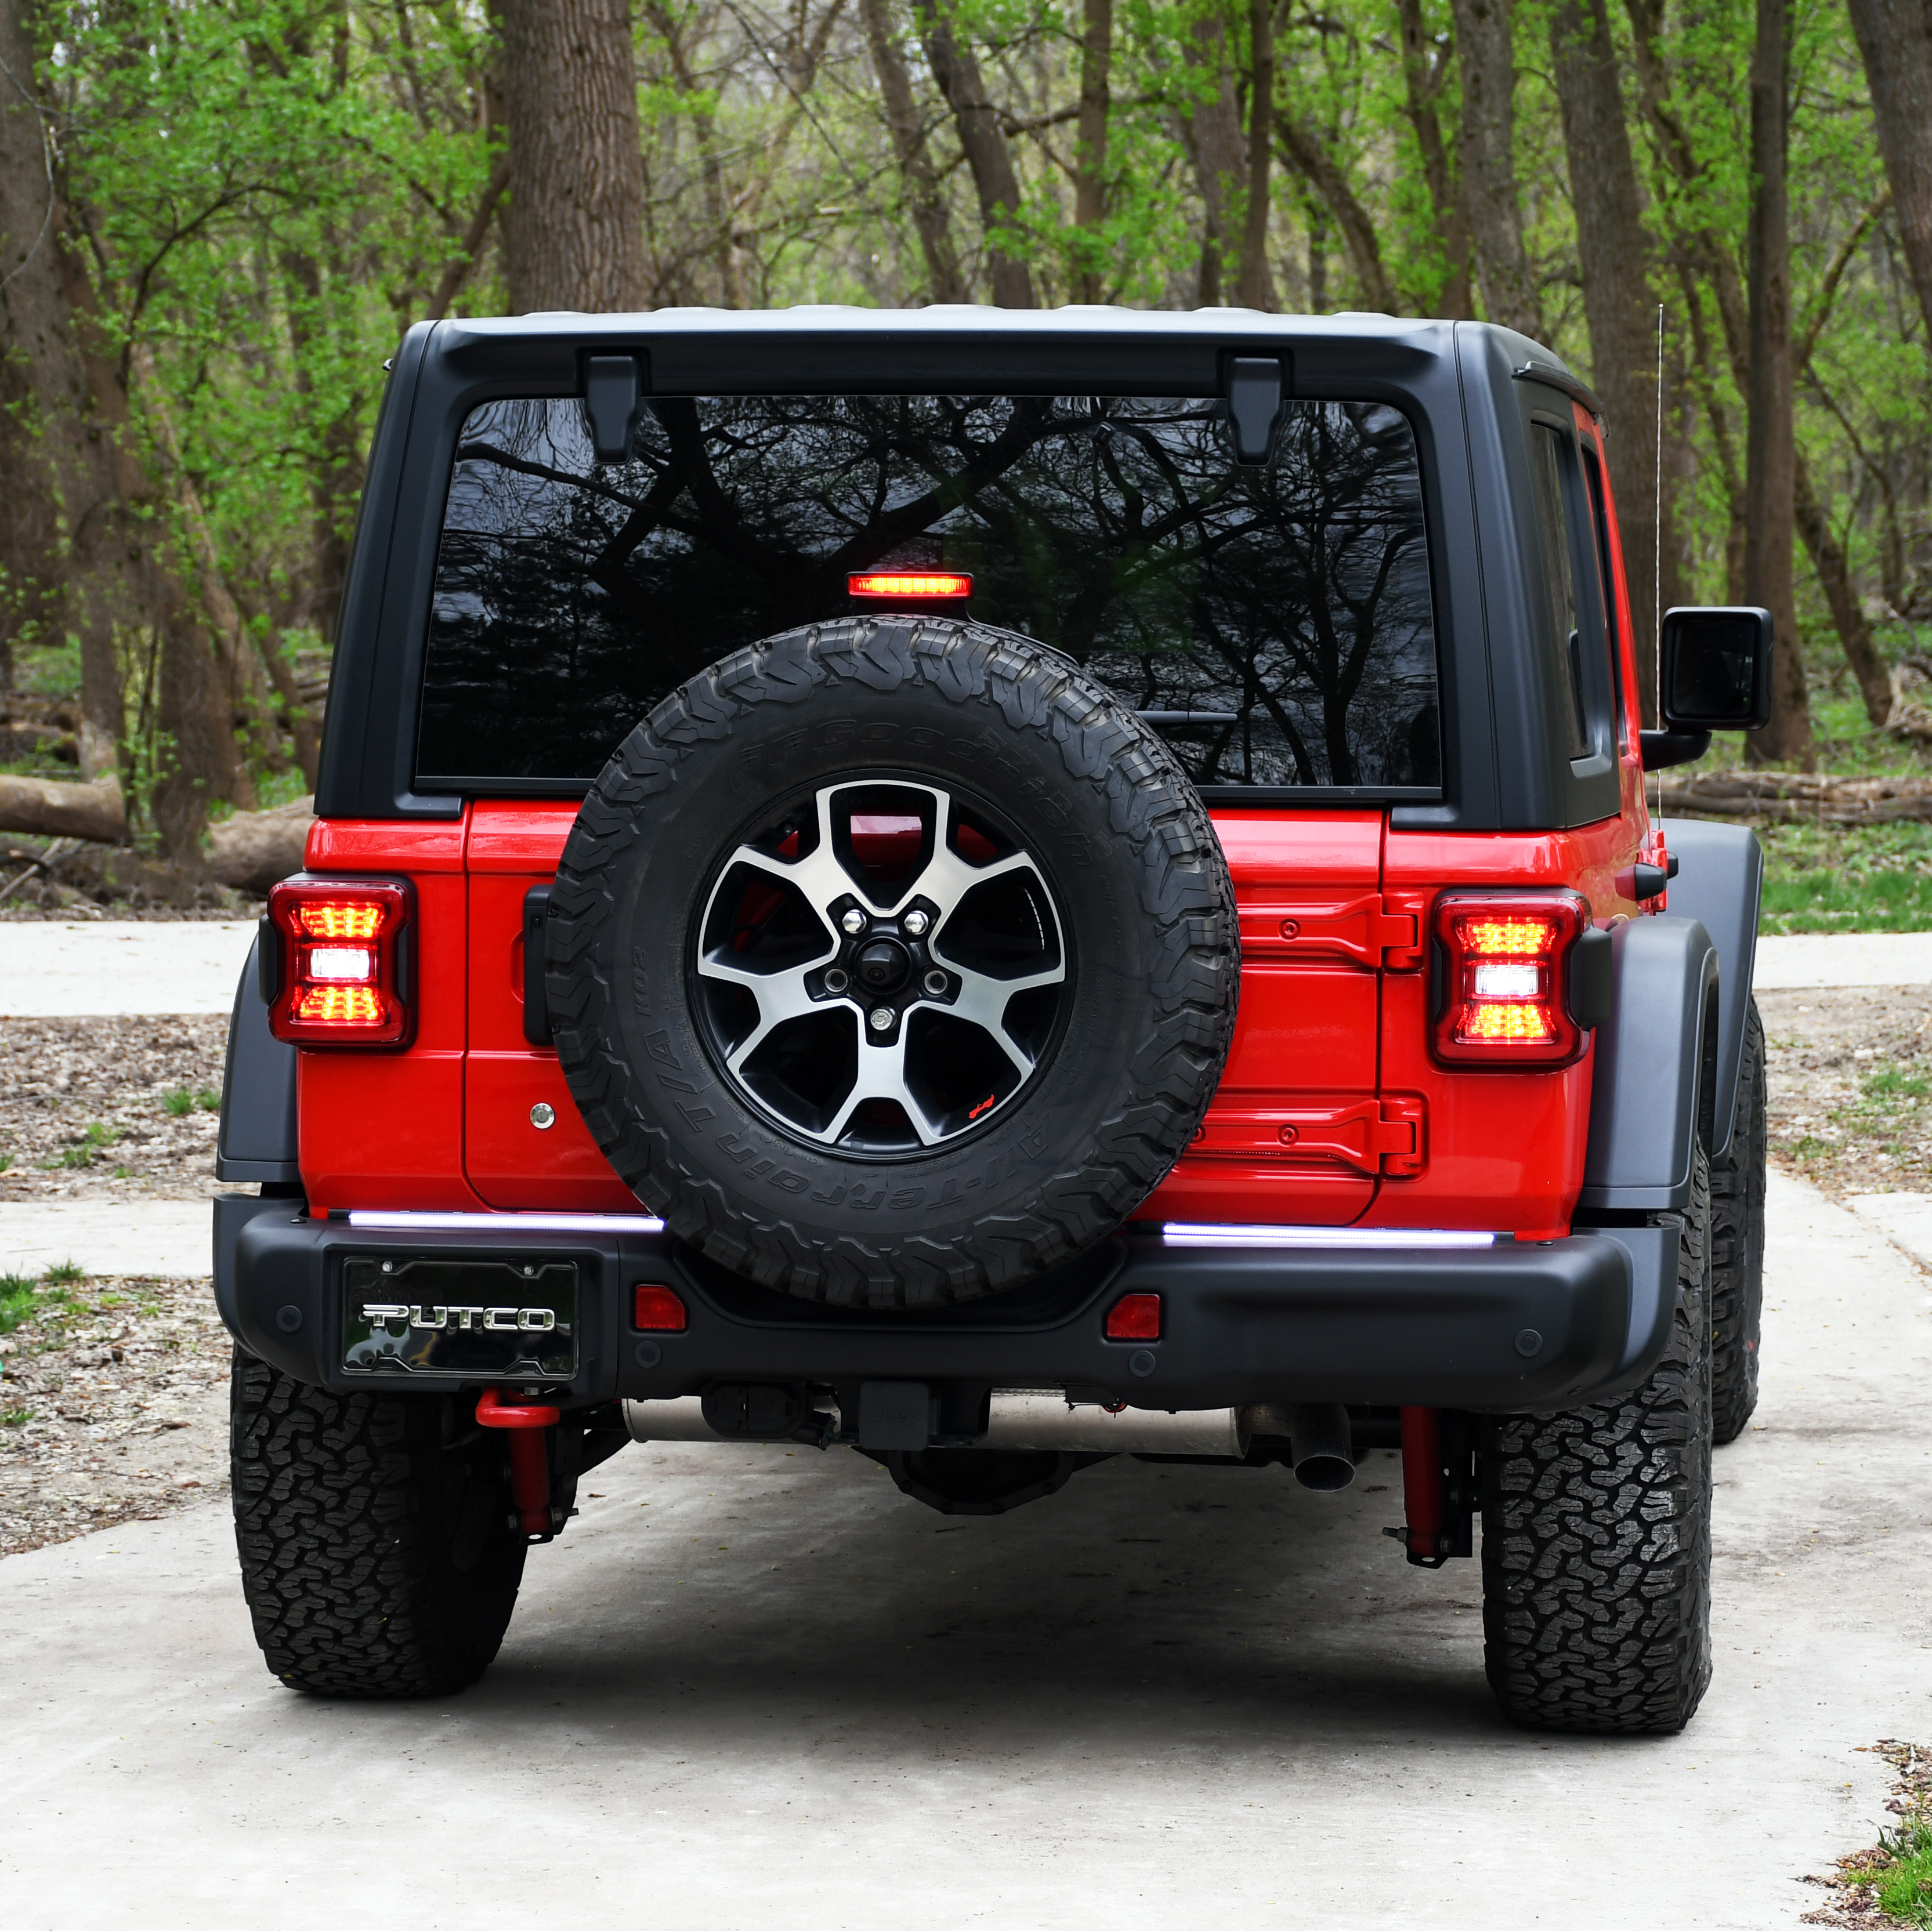
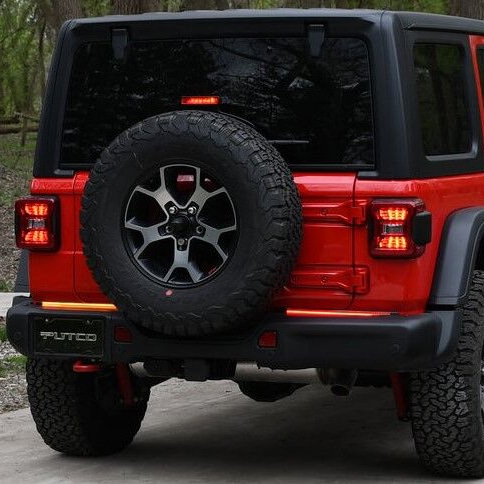
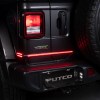
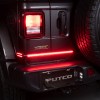
- Length: Pair of 18″ LED Tailgate Light Bars.
- Light Output Colors: Choose between red, amber, and white or red and white.
- Multi-Function Lights: Syncs with tail lights for additional running lights, brake lights, reverse lights, hazard lights, and turn signals.
- Bright White Reverse Light: 6000K cool white reverse light for bright backup illumination.
- Durable Housing: COB LEDs encapsulated in tinted polycarbonate resin for superior weatherproofing.
- Plug-N-Play Harness: Direct-fit kit, no cutting or splicing required.
- DOT/SAE: SAE IRST 21 DOT, SAE J595.
Luminix Fog Light Replacements
- High-Power LED Fog Lamp Bulbs: With enough power to cut through heavy rain or thick fog.
- 6,000K White Light: Ideal for dry roads, providing better illumination.
- Easy Control: Change the color temperature using your factory switch by simply turning it on and off; no additional wiring or switches are needed.
- 360° Light Pattern: Improves peripheral visibility and is compatible with any reflector housing shape.
- 800 Lumen Output: Provides sufficient road punch for clear visibility ahead.
- Non-Reflective Nickel Finish: Eliminates light ray interference inside the light housing.
- Warranty: Backed by Putco’s one-year warranty.
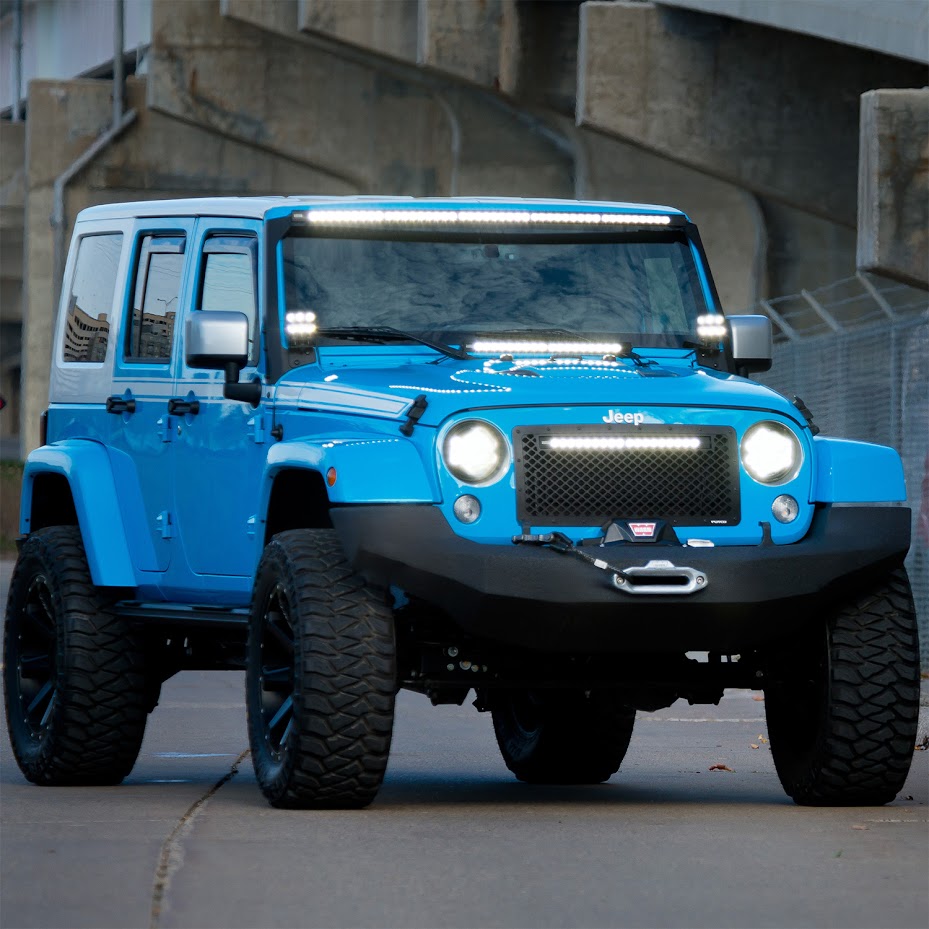
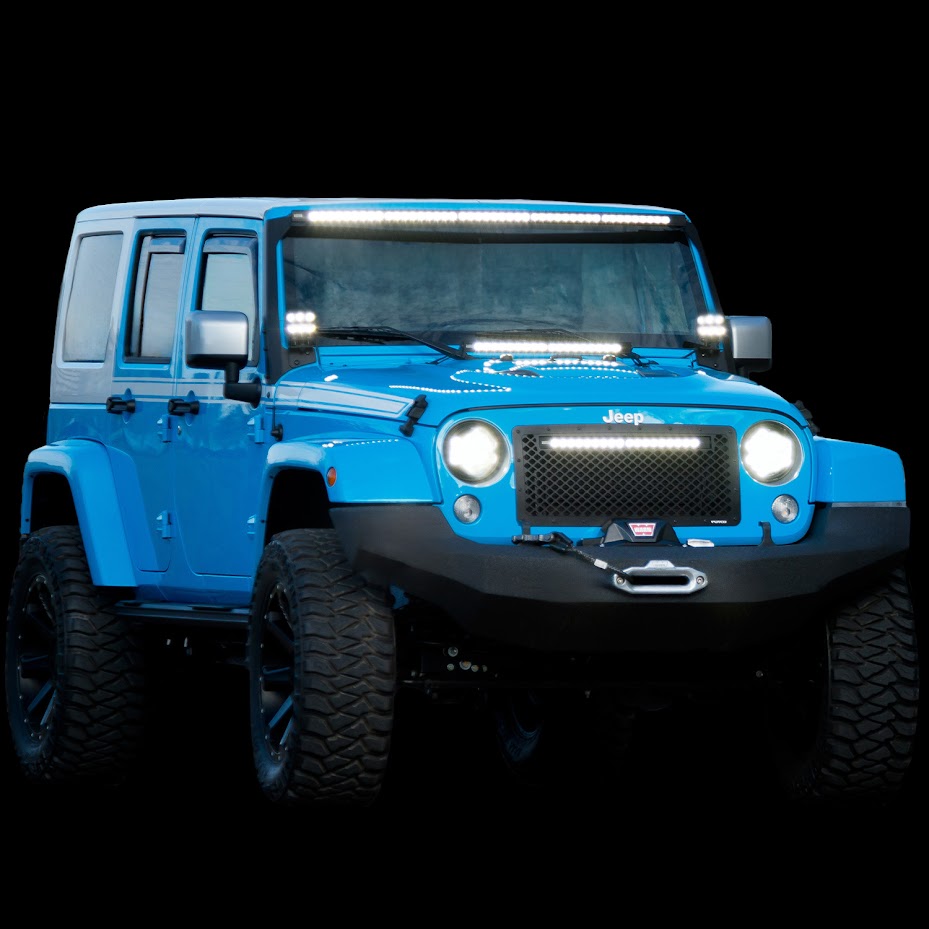
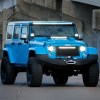
Enhance your Jeep Wrangler with the ultimate off-road lighting solution using our “Build Your Own Off-Road Lighting Kit.” We’ve gathered everything you need on one convenient page, making it easy to choose the perfect LED light bars to mount on your hood, roof, windshield, license plate, grille, tailgate, or LED fog light replacements. For those who want to go all out, we offer the entire LED light bar collection to fully equip your ride.
Luminix LED Light Bars feature a robust construction that begins with black powder-coated stainless steel brackets, which securely mount to your Jeep Wrangler without the need for drilling or cutting (the only exception is the complete grille replacement, which requires cutting the OEM grille). The light housings are crafted from CNC-machined, aircraft-grade 6061-T6 aluminum and finished with a sleek, black anodized coating. Luminix LED Light Bars feature high-quality 5-Watt 6000K LEDs; these light bars deliver superior brightness and a brilliant white output, with a maximum output of 19,200 lumens on the 50″ light bar.
Blade LED Light Bar enhances your 4×4’s safety and rear-end visibility. Choose between pairs of 18″ red and white or red/white/amber models. Both options will effectively light up your rear end, providing essential safety both on and off the road. The Blade LED Light Bar connects to your taillight and syncs to provide additional running lights, brake lights, reverse lights, hazard lights, and turn signals.
Optic 360° LED fog lamp bulbs utilize high-power 30-watt LEDs to produce 800 lumens at 6,000K. With a billet aluminum tower for cooling and an Optic convex lens for 360° light distribution, they enhance visibility and safety in dense fog, outperforming old halogen bulbs.
Every LED light bar in this “Build Your Own” light kit has been tested to withstand the harshest weather conditions and is backed by a 3-year, industry-leading warranty, providing you with peace of mind. These products were designed and proudly manufactured in the USA by Putco Inc.
California Residents: Proposition 65 Warning
Reviews